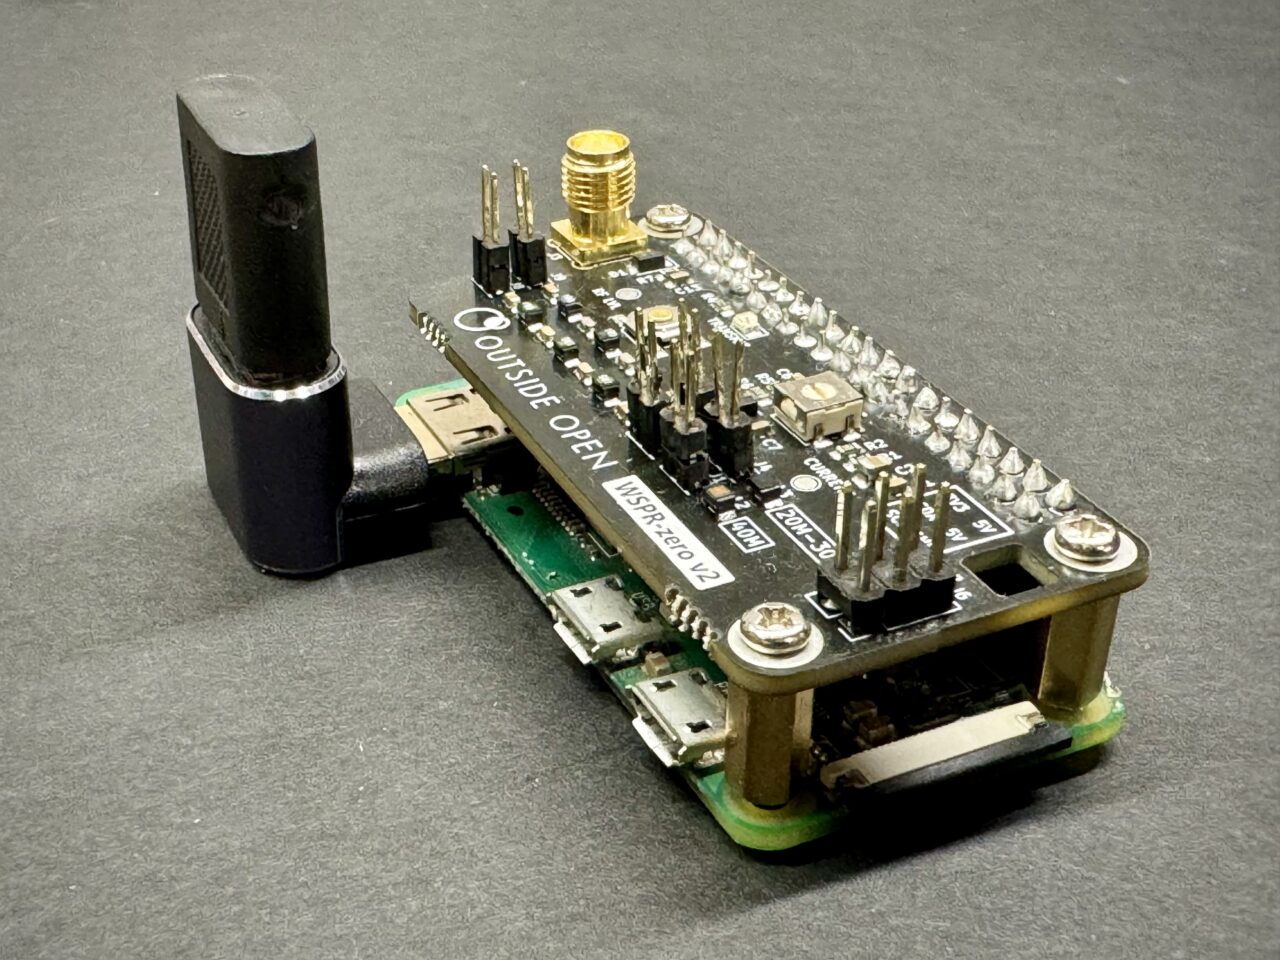
Getting Started with WSPR-zero
Quick Start
- Download the latest WSPR-zero Raspberry Pi Image
- Use Raspberry Pi Imager to set your WiFi info and copy the image to your SD card
- Boot up the pi- this will take around 5 minutess since the installer will expand the disk to fill your card.
- Press the utility button 5 times and visit the WSPR-zero EZ-config page to add your call sign, location, transmit and receive bands etc.
- Visit WSPRnet to view your WSPR propagation
Detailed Setup Steps
- Download the latest WSPR-zero image file HERE
- Download Raspberry Pi Imager HERE
- Insert the SD card into your Raspberry Pi
- Plug in an HDMI monitor or HDMI dummy load
- This is IMPORTANT to prevent the pi from crashing during transmit
- Connect power adapter and boot up the pi. The first boot will take around 5 minutes while the setup tasks expand the disk etc.
- When the pi is booted and successfully connected to the internet, the WSPR-zero LED will blink rapidly for 30 seconds
- If the pi is unable to reach the internet, it will blink slowly for 30 seconds
- This is expected when you are out in the field with not internet connection.
NOTE that you need to configure the pi once while connected to the internet before taking it on the road where there is no connectivity – this is required to configure your call sign etc.
- Press the UTILITY BUTTON on the WSPR-zero board 5 times rapidly to enter setup mode.
- Visit the EZ-config page and enter your information
- Apply Settings before the pi exits setup mode.
- If setup mode ends before you are done, simple press the button 5x again and click Reload
NOTES:
- Holding down the UTILITY BUTTON for 20 seconds will initiate a graceful shutdown of the Raspberry Pi OS.
- WSPR-zero is based on the standard Raspberry Pi OS.
- If you set up a password during imaging, you will be able to access all the normal Raspberry Pi OS features via SSH or by connecting a keyboard and monitor.
- https://www.wsprnet.org to observe WSPR spots.
- The pi will reboot every night at 1AM to keep everything happy 🙂
- If you run into any issiues, just re-image an SD card and you’ll be up and running in minutes!
- WSPR-zero is pin compatible with the TAPR.org low pass filter boards including adding Setup Mode functionality.


